Sunday, November 1, 2015

Card weaving 3: Birka 6

Now that I think I have the basics, I wanted to jump to some historical patterns. So I started with Birka 6.

I found a wonderful pattern and explanation over at Finchingefeld's Fancies

She does a wonderful job explaining the setup. Though there are some key points:
Face the cards left and start with AD up. So AB are the ones closest to the weaver.

This was a lesson in undoing wefts. I kept getting ahead of myself and switching to the new pattern too soon and forgetting what was forward and backward. I had to remind myself that the new turn pattern was when I had the shuttle on the left side of my loom.

I also had a problem that the tension of the warping caused the loom to not be long enough at the end. At some point I had to take the whole weave off the farthest upper right peg to loosen it up enough. I'm also still having some issues with the trim getting narrower as I go, but less than before. I need to figure out how to keep it the same from beginning to end. I think the shift in the pattern in the X hides more in the looser beginning than the end. I also have no idea how to end the weaves aside from cutting the warp.

I think I might make a new pouch for Pennsic with this. I rather like it!

Finished specs:
Pattern: Birka 6
Fiber: Aunt Lydia's crochet thread classic size 10 in dark royal and natural 
Cards: 11
Length: 53 inches (134.6 cm)
Starting width:12 mm
Ending width: 9 mm


                                                         Start of trim left and end right. 

What to try next?

Monday, October 12, 2015

Card Weaving take 2: Leaves: Success!

After last time's failure, I switched to some GTT patterns. After hunting around the interwebs to figure how to read the patterns (thank you broken old word doc manual) I warped up the first leaves pattern. 14 cards. 2 colors. I only partly warped it, which maybe caused the warp to not stay tight. It also meant I couldn't use the tension bar. Next time I need to continuous warp it and see how that fixes it.
Enough with the learning, let's see the trim!


I'd call it a success! 

Need to work on how tight the weft is. The trim lost 5mm from beginning to end. Also, remembering to pull the little wft loop tight in so the edges aren't bumpy. Also need to keep all the warp the same tension, which I need to figure out when the pattern has a salvage because the edges were tighter than the pattern warps. 

Finished specs:
Pattern: GTT Leaves - 14CT-Leaves-2
Fiber: Aunt Lydia's crochet thread classic size 10 in white and peacock
Cards: 14
Length: 56cm
Starting width:16mm
Ending width: 11mm

And, I think my pattern marker is pretty nifty

It's a galvanized steel hanging decoration from Michael's hot glued onto the back of my pattern binder. The marker is a magnet sheet glued onto a piece of transparent file folder cut to shape and a popsicle stick. 

Sunday, October 4, 2015

Tablet weaving attempt 1: Mim's Kivrim

Got a wonderful little card tablet at Pennsic War this year from Pine Box Traders. I decided to sand, stain, and seal it because I just bought a ""teaching" loom because that's what I could afford and I already had the stain and seal.

Picked up some Aunt Lydia's Crochet thread classic size 10 in black, white, and peacock. Super cheap from JoAnn's with a coupon.

I tried to warp up this
from http://mimbles.com/tablet-weaving/pattern-library/

I thought I would save some thread on a practice run by not warping the whole length of the loom. However, I didn't use the tension peg in my ingenuity
, so I couldn't loosen it up as the threads tightened.


Double and triple checked by warp. Handy cloak pins are handy.


But this is the result


Not the pattern. Seems like it's just the points of the horn that are messed up. I tried a couple things to make them show up which is why it's not the same. The directions call for "twisting" the cards, which is kind of weird. Don't like it. And now the threads are too tights to keep rotating. So, that's done.

Next time I will try a pattern from someone else.


Sunday, August 17, 2014

Wire Elf Ear cuffs


mixture of 20 and 26 gauge colored copper wire
Grey elf LARP prop

Saturday, March 29, 2014

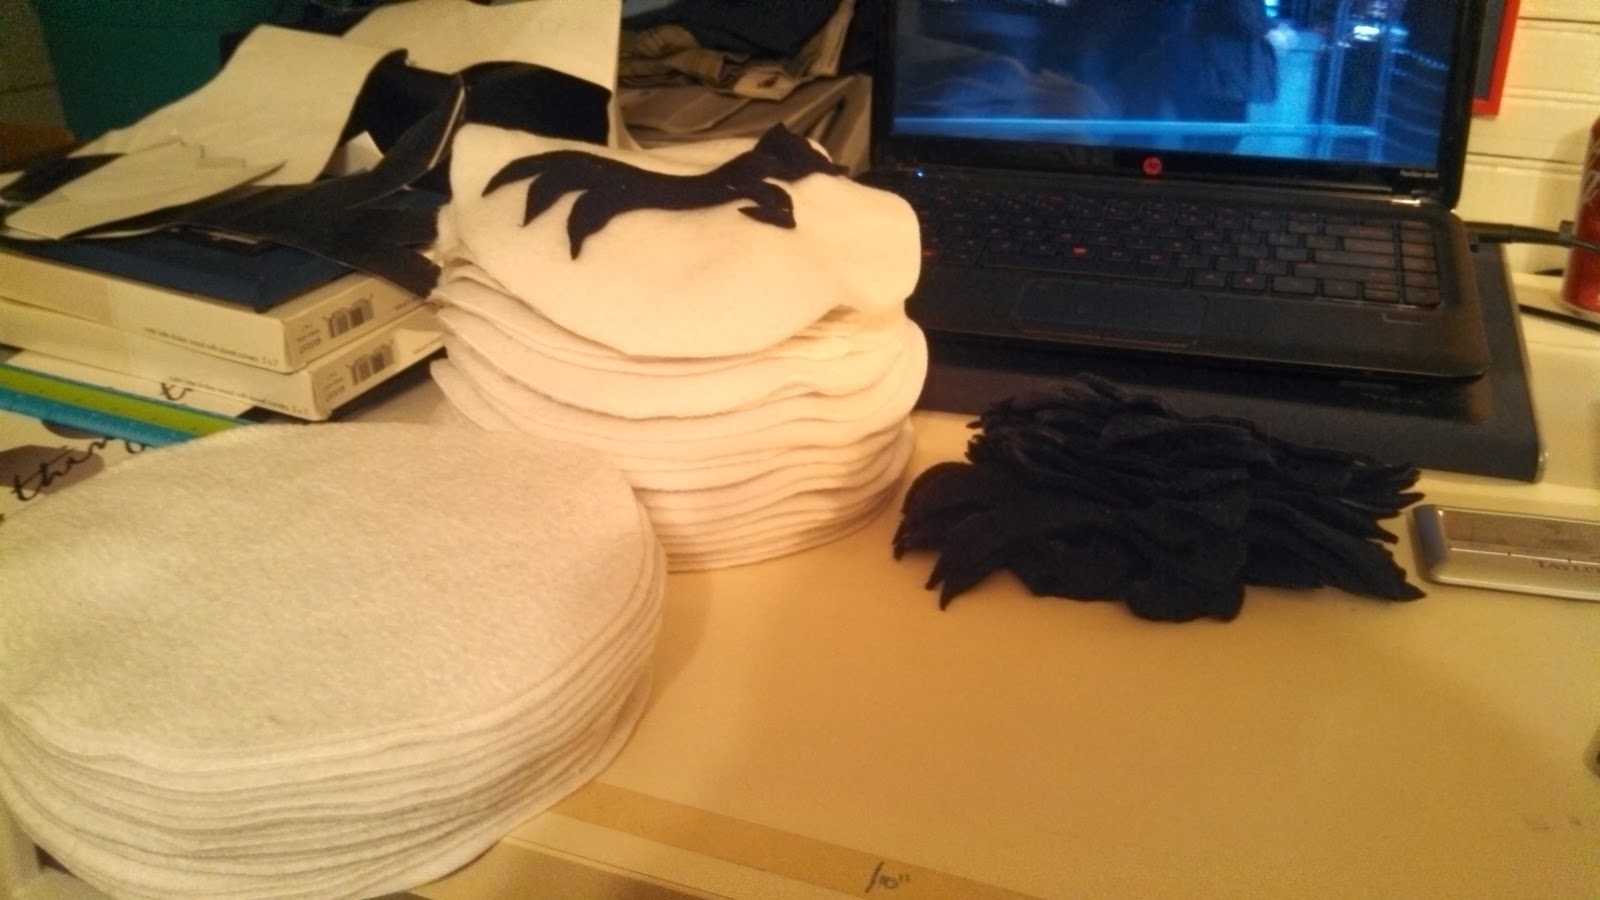
The saga of the Black Talon Scarves

45 yards of fleece for lots of projects!

Many hours cutting out little talons
All cut!
Many, many little black talon circles
That all have to be pinned!
And fringe sewn on
Then fringe cut
But finally all done!
And ready to welcome in the spring weather!

Finished size:
9" wide
74" long
includes 3" fringe on each end
Emblem is 8.5" wide

Monday, March 17, 2014

Jamberry nails

First attempt at Jamberry nails
Black floral
Took a little more than an hour
Saving the little pieces for my toes when it's warmer!

Update: pointer finger lasted a week before the tips couldn't stick back down. Rest lasted a total of 12 days!

Monday, February 17, 2014

New Sewing Space

Finally all set up and ready to sew!
Ikea BESTA desk, heirloom library table, wire shelves, IKEA bags full of fleece, and 75 hangers of fabric or projects.